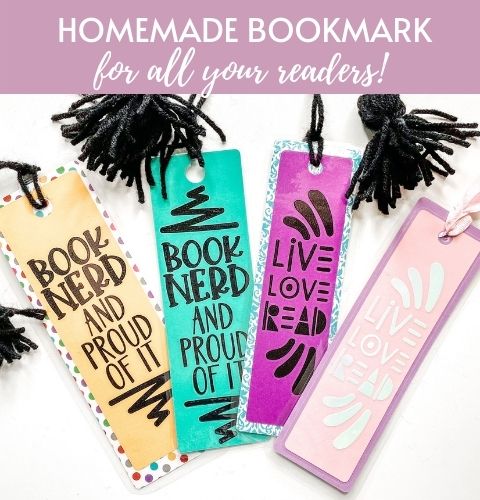
Feelings Chart for Kids, A Printable Design
share on social:
If you have kids of your own, or if you are even around children at all, you know that they’re all unique. This week’s project is a feelings chart for kids project and it’s perfect for all those kids out there who feel ALL the things and have big emotions. My son is one of those with big emotions (he probably gets it from me!).
We’ve been re-doing his room, and he asked for a little sign for his door so he can express all those emotions in a healthy way.
So this craft mom was on it!
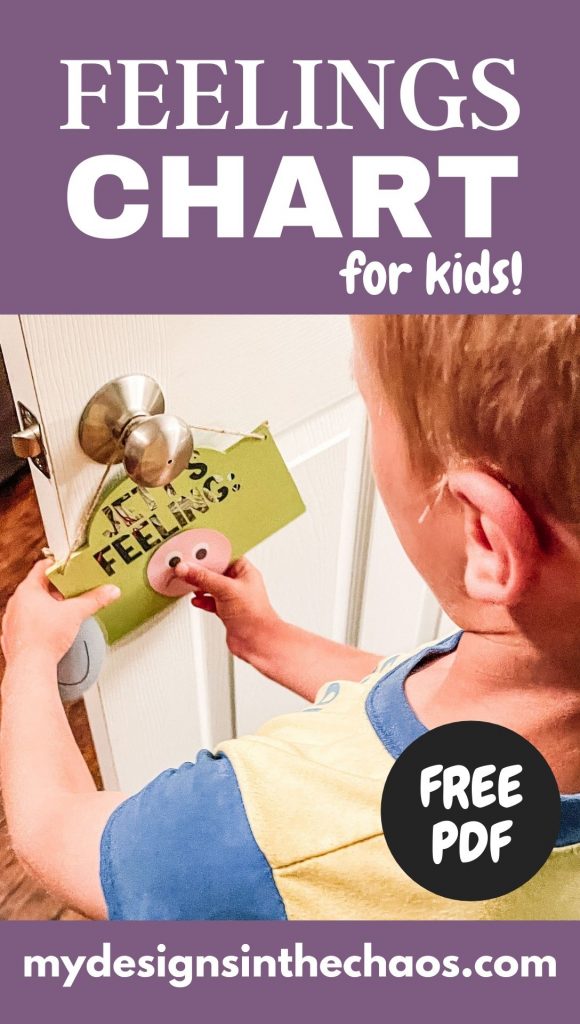
We’re going to use a little wooden sign, and it will have his name and say how he’s feeling. And then we’ll have all the feeling faces and he can change them out as his status changes.
He’ll also have a handy feelings chart that will help him learn about the different feelings faces.
If you missed the Facebook live video for this project, you can watch the replay and learn all about how we made this feelings chart for kids.
Supplies for our Feelings Chart for Kids
- Download file from My Designs in The Chaos (see link below)
- Wooden sign (available at Dollar Tree, WalMart, etc.)
- Wallpaper (or adhesive vinyl)
- Chalk paint in a color to coordinate with your wallpaper or vinyl
- Transfer tape
- Scissors, weeding tool, scraper
- Laminator and sheets
- Velcro squares (or pieces cut off a long strip)
Let’s Get Crafting!
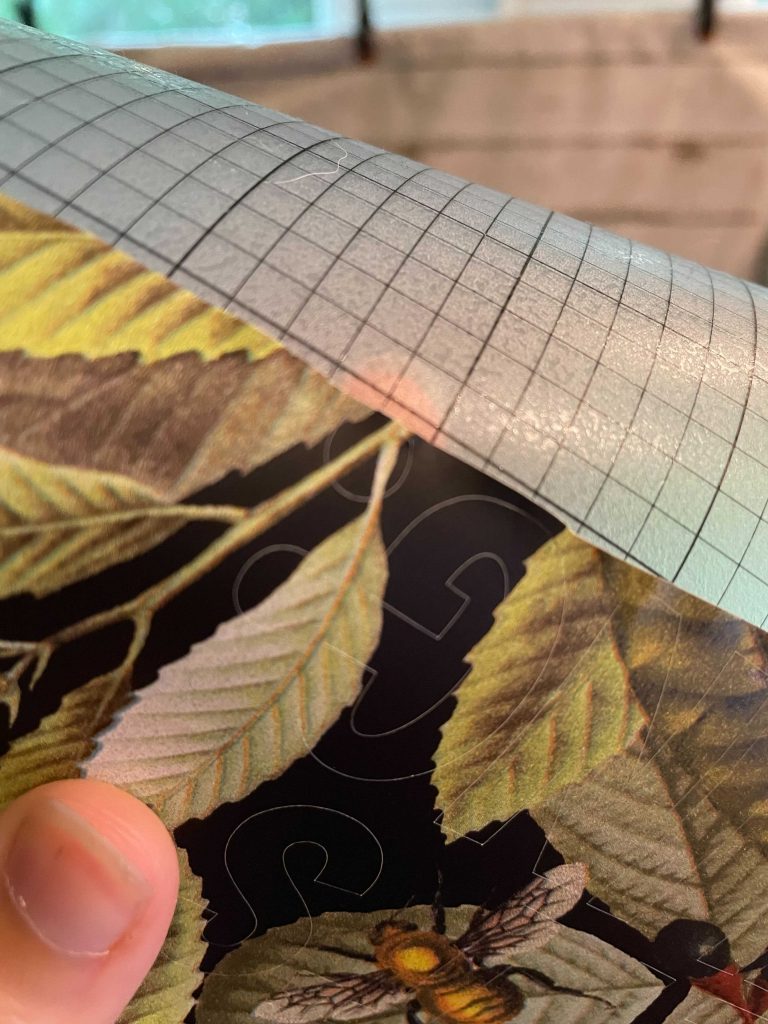
One thing that’s different about this week’s project is that rather than using actual vinyl, I am using some leftover jungle print wallpaper from our son’s room renovation.
So we’ll see how that goes!
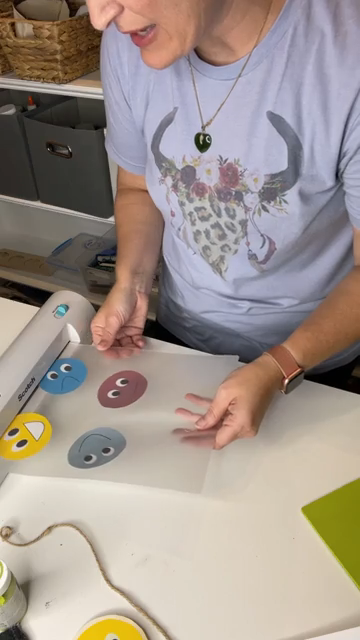
This week’s project is a printable. You’ll get the reference chart for the feeling faces and what feelings they match up with, and also all of the feeling faces.
You can do a print and cut if you want or you could cut out the faces by hand, and that’s what I did.
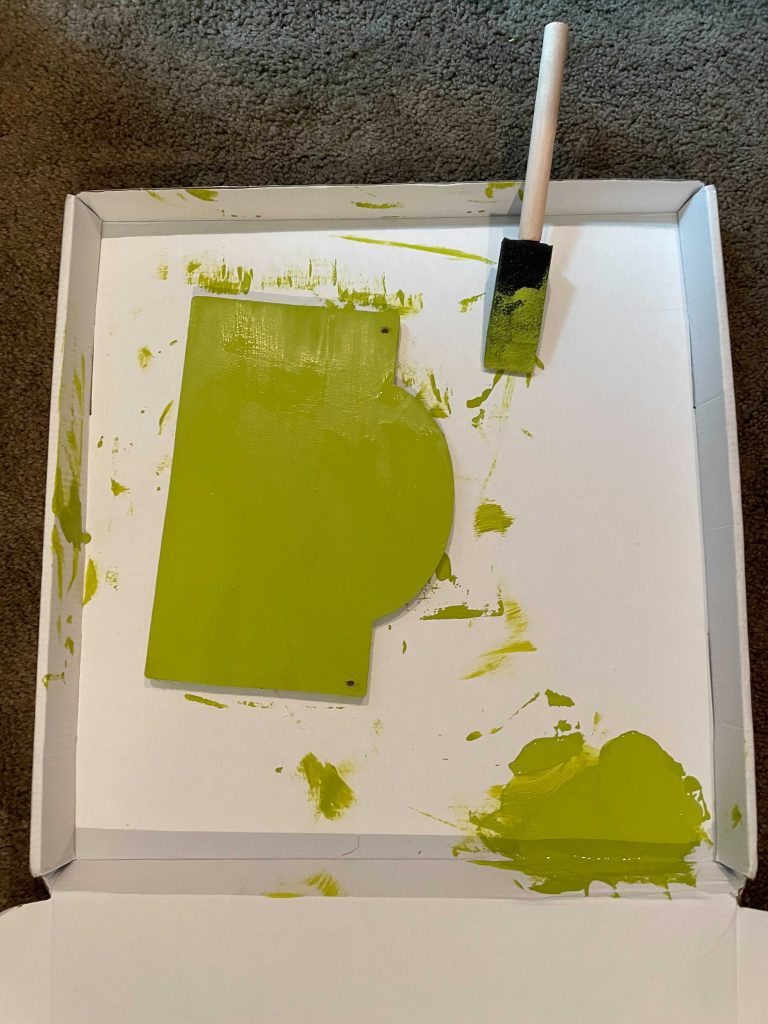
Step One
Take off the twine hanger for the sign and set it aside because we’ll use it later. Paint the sign. This is a task the kids can help with.
Step Two
Cut out the name or message you want to put on your sign on the wallpaper or vinyl. Flip mat over and peel it up from the back, especially if mat is sticky.
(By the way, I always use 12×24 mats, just an off-brand – Nicapa, and they come 3 in a pack).
Weed the design. Place transfer tape over your design – you can use a scraper to smooth it down.
Peel the transfer tape up slowly and remember that you don’t have to rip it off quickly all at once.
Peel slowly with one hand and kind of use your other hand to pay the design down. Using wallpaper worked!
Step Three
Place the design on the sign. You can eyeball it or you can measure if you want it to be exact.
Tip: Clear transfer tape is typically the stickiest of transfer tapes. It is stickier than paper transfer tape, for example.
You can ‘fuzz’ the transfer tape by sticking it quickly to something else first and dulling it a bit.
Step Four
Laminate the printable feelings chart so the child can use it as a reference. Put the printable sheet into the laminator sheet and put the sheet into the laminator fold side first.
And please remember that there is no wrong way to craft. Use whatever you have on hand to do these projects.
You don’t have to go out and buy a whole bunch of new things. If you don’t have a laminator, you could use little wood circles and mod podge your faces onto those.
Remember that you have a choice with this download. You can do a print and cut with your machine for the feeling faces or you can cut them out by hand.
Cut the faces before you laminate them though, so that when you laminate them, you can trim around them after.
If you laminate the whole sheet of faces and then trim them out after, they would come apart.
Step Five
Cut out your laminated faces out. Run them through the laminator one more time just to make sure the edges are sealed.
Step Six
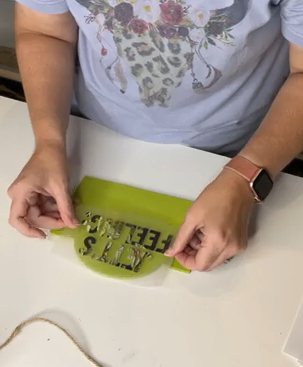
Trim the Velcro squares and put the soft side on the face.
The rough part of the Velcro will be stuck on the sign and you may have to press it down really good really stick it to the sign.
Make sure to use the soft part of the Velcro on the backs of the other faces.
For the other faces, after peeling off the backing, you can attach the soft Velcro square to the rough one on the sign and then line up the face where you want it, and press it down to the exposed sticky side of the soft Velcro square.
Finishing Touches
Let’s add our twine hanger back on. If you’re having trouble threading the end of twine back through the hole, put a piece of tape around it and thread it through, then remove the tape.
You could also add some little decorations on the sides of where the faces will go.
In just a few steps, we took our download printable feelings chart for kids file and turned them into feeling faces for a sign, along with a handy reference chart.
This is a super-easy way to give those littles who have really big feelings an easy way to express how they’re feeling and they have the little guide to help them identify their feelings.

Do you have a child in mind who could use some help identifying and sharing his big emotions? Or maybe you know a teacher who could use this in a classroom.
I cannot wait to see where you utilize this project. Please tag us on our social media when you do, tune in on Mondays for our Make it With Michelle projects, and share our project videos with your crafting buddies.
If you liked this Feelings Chart for Kids tutorial, you may also like:

Download your Feelings Chart for Kids printable design from My Designs in the Chaos.
WANT TO REMEMBER THIS? PIN IT FOR LATER!

Learn to develop, and grow your crafting skills!
My mission is to develop, encourage, and grow your crafting skills, and confidence through freebies, tutorials, our club, and our signature course.

Behind the Chaos...
My name is Michelle and I am the creative director behind the chaos. I'm so are glad you are here and hope you find inspiration and confidence to create something beautiful out of the chaos in your craft room and in life.
free ebook!
Bring your creativity to life quickly and easily.
This guidebook will give you a detailed look into the creative crafting cycle called the Craft Maker Process.