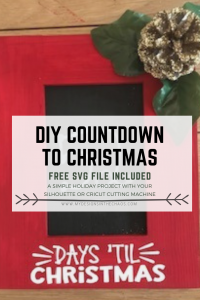
DIY Christmas Countdown Frame
share on social:
Today I want to share a easy and quick Silhouette or Cricut cutting machine project that I just know you are going to love. This Christmas Countdown DIY project is adorable and so versatile. It would be great for a teacher gift or just home decor for the holidays. If you want to watch us create it live just scroll down the page and check out the video tutorial. In the meantime, let’s dive in to exactly how to create this adorable Christmas Countdown.
Please note that these are affiliate links of products we love and use. At no extra cost to you we will earn a small percentage of the sale when you shop through these links.
SUPPLIES
Blank Frame (the ones we used in our live came from Walmart but these are very similar)
Silhouette or Cricut Cutting Machine
Additional greenery, bow, or ribbon

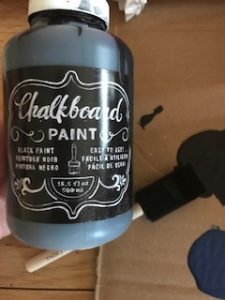
STEP ONE
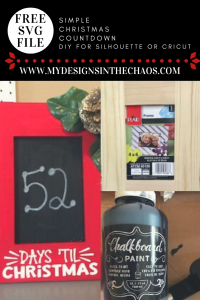
The first thing that you will want to do is take the back out of the frame so that you can paint it. In the frame we used there was no glass in it to begin with but, if your frame has glass just pop that out as well. It is important to get a frame that you can access that inner section since that is where the actual countdown will occur. Paint this section of the frame black with the chalkboard paint. It will be the part that you write the number of days left on. Depending on the thickness of the backing and the thickness of the layer of paint this might take 2 layers.
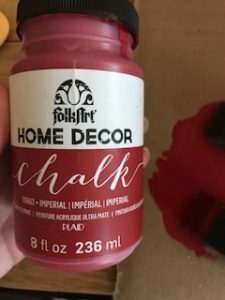
STEP TWO
While the chalkboard part of the frame is drying, now it is time to paint the frame itself. The frame that we used was a wooden unfinished frame. In order to only have to paint one layer we used a red thicker chalk paint instead of an acrylic paint. Both styles will work but with the acrylic two layers might be necessary.
STEP THREE
While the frame and the chalkboard part of the frame are drying, now is the perfect time to cut the design. Grab the free ‘Days ‘Til Christmas’ SVG here. Using your Silhouette or Cricut cut the design and weed out the parts that you won’t use. Because of the size you can easily use a scrap piece of vinyl for this project. I used a piece of 651 Adhesive Vinyl that came in a grab bag scrap box from Expressions Vinyl. Learn more about our favorite tips for making our vinyl purchases last here. If you are planning on adding a name or additional words to the top of the frame, now is a great time to make sure those are cut out as well.
STEP FOUR
Now that the design is cut and weeded go back to the red frame. Confirm that the frame is 100% dry. In the live tutorial video that we did we used a heat gun just to make the process go faster, but really it shouldn’t take to long on its own either. Once the frame is totally dry it is now time to apply the vinyl design. Apply transfer tape to the weeded design. We used paper transfer tape. To learn more about all the different types of transfer tape options go here. Then using the transfer tape, apply the design to the bottom of your frame. Easily peel off the tape using our fail safe method here.
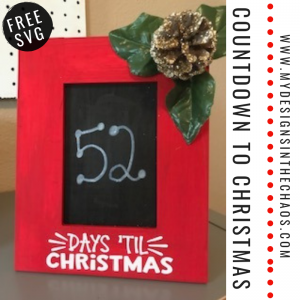
STEP FIVE
Finally it is time to add a little spunk. This is where you can really let your creative juices flow. We decided to add some greenery and a glittered pine cone to the top corner but really any sort of decoration would do. A ribbon, a bow, a name to make it personal… there are no rules. This buffalo plaid ribbon would be adorable! We used some hot glue to secure it to the frame and viola! Adorable Christmas Countdown is complete. Just pop the backing back into the frame and then you have a nice little desk size countdown that the kids will LOVE!
Check out us making this adorable frame in real time here:
We want to see your Christmas countdowns! Show off what you have made below and make sure to pin this idea to save for later.
Happy Crafting, Cutting, and Chaos!!

Learn to develop, and grow your crafting skills!
My mission is to develop, encourage, and grow your crafting skills, and confidence through freebies, tutorials, our club, and our signature course.

Behind the Chaos...
My name is Michelle and I am the creative director behind the chaos. I'm so are glad you are here and hope you find inspiration and confidence to create something beautiful out of the chaos in your craft room and in life.
free ebook!
Bring your creativity to life quickly and easily.
This guidebook will give you a detailed look into the creative crafting cycle called the Craft Maker Process.