How to Use Heat Transfer Vinyl Like a Pro
share on social:
Heat Transfer Vinyl (AKA Iron-ON Vinyl)- A step by step guide to walk you through the entire process (FREE SVG INCLUDED)
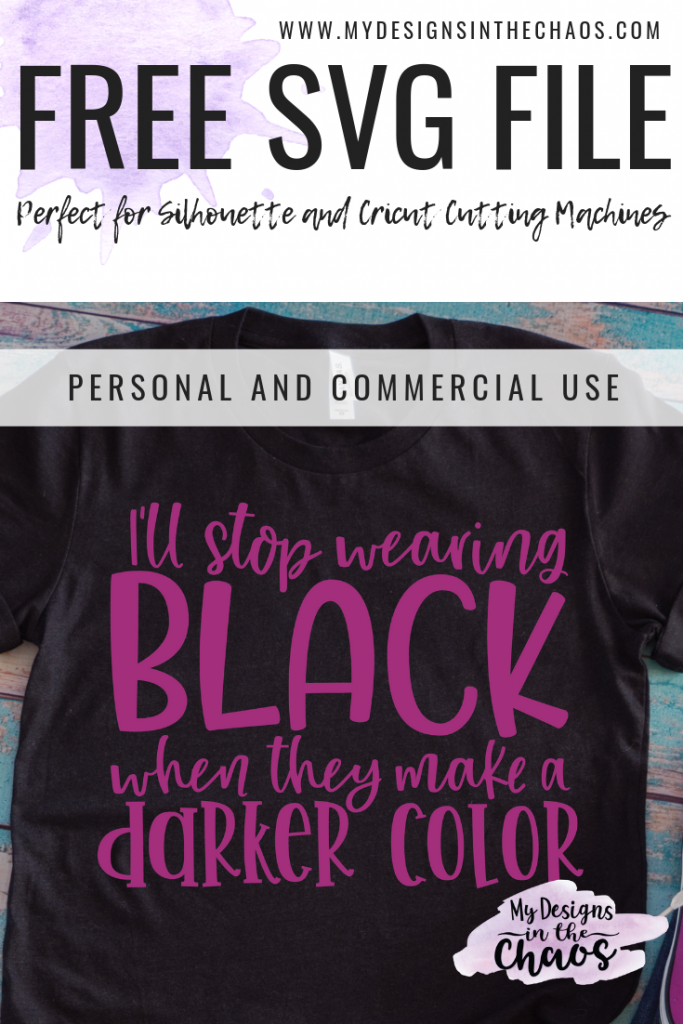
I was taking a look at my wardrobe this week, and I realized that I have so much black! In coming to this realization, I figured I’m probably not the only one with tons of black in their wardrobe. So, to illustrate exactly how to use heat transfer vinyl, I’ve also provided a free SVG file about having tons of black in your wardrobe just for you!
It just seemed to suit me and I thought that for sure, one of y’all could relate to! Follow along on the tutorial video or read through the step-by-step instructions below. Let’s learn exactly how to use iron-on vinyl. Then go make yourself a cute shirt using this fun design! I can’t wait to see it!
Just a reminder: This design can be used for personal or commercial use for up to 200 uses. You may not share the digital file but we welcome you to share the link so that your buddies can download it for themselves. Thanks for understanding!
PLEASE NOTE THIS POST CONTAINS AFFILIATE LINKS

Supplies:
- Black T-Shirt- My favorite spot to order blank shirts is Jiffy Shirts. The bella canvas unisex ones are so soft and comfy.
- Iron On Vinyl– This is also called heat transfer vinyl. It gets sticky when it is heated up.
- Heat Source– This can be an easy press, and iron, or even a heat press (which is what I use in the tutorial video).
- Teflon Sheet– You can also use parchment paper as well.
- Cutting Machine- Either a Cricut or a Silhouette would work great to cut your design
- Weeding Tools
- Free SVG (available for download below)
Check out this tutorial video for a simple step-by-step guide on using heat transfer vinyl.
Download and Open The SVG File
The first thing you will want to do is download the free SVG file below. The file will be zipped when it is downloaded.
In order to access the SVG make sure to unzip the folder. Right click>extract all for a PC, Double Click for a Mac, or download an unzip app for a tablet or phone. Then it’s time to open the SVG in your cutting software.
Make sure you are uploading the SVG and not the PNG. PNG and SVG files are very different but can easily be confused. If you can’t ungroup the design, release the compound path (Silhouette users), or don’t see any layers in the layers panel (Cricut users) then double-check that the correct file type is uploaded.
Cut the Design
Once the file is open inside your software and you are ready to send it to cut, there are a couple of things to remember. These reminders are true no matter what type of cutting machine you are using to work with an iron-on vinyl project.
First, always mirror your design! When I say mirror your design that just means to flip it horizontally so it looks like it is backward inside your software. Trust me, it may sound strange but I promise you will thank me!
I have wasted many beautiful sheets of heat transfer vinyl because I forgot. It is almost like a right of passage that every single crafter with a cutting machine has done at least one time. I even put a reminder on my machine so I don’t forget.
Also with iron on vinyl, always put the shiny side face down on your mat when cutting. The sticky mat and the shiny side should be touching each other. This shiny side of the vinyl is actually called the carrier sheet. It’s what you will end up removing once the vinyl is heated up and applied to your item.While iron on vinyl is not sticky to the touch (unless it’s heated up) the carrier sheet is. It is what keeps the vinyl adhered and in place while you’re cutting.
Weed the Design
Once your machine has cut the entire design onto your piece of vinyl it’s now time to weed. This may sound strange at first but basically it just means you are going to peel up all the extra vinyl from the carrier sheet that you don’t want adhered to your final item. In this case a shirt.
At this point though I wanna stop you before you weed your design go turn on your heat source whether it’s an iron and easy press or heat press and that way the heat it can heat up while you’re weeding and when it’s time to actually apply it you don’t have to wait.
I also have some top weeding tips for you because vinyl is money, am I right?! We don’t want a single piece of it to go to waste! My favorite set of tools to us when weeding is this toolkit.
I also save all my scraps and store them in this container by Color. Some people like to use sheet protectors and binders but I outgrew that method very quickly. The bottom line as save what you can, trash the rest and now your iron on design is ready to be applied.
Center
There are a couple guidelines that I use when I am trying to get the placement correct On my shirt. The first thing is your design needs to be centered in the middle. I use this tried and true process every single time to center my design. The next thing is you want to make sure of, is that it is not too close to the collar of your shirt. A helpful reminder is what I like to call the fingertip rule. Remember I am team eyeball here so this usually gets it pretty accurate for me without busting out the ruler.
Measure about three or four fingertips away from the collar and that should be where the top of your design sits. Anything closer it can look like it smooshed and anything further away it can look like an awkward open gap.
Heat it Up
Now comes the fun part of actually applying our design to the shirt. We’ve cut the design the right direction and we’ve weeded the design we’ve centered it and we know exactly where we want it to go. So there’s only one thing left to do! Press and apply heat.
Place the design down on your shirt but wait… don’t just add the heat or you will burn or melt the vinyl!!
This is where a Teflon sheet comes in to play. If you don’t have a Teflon sheet parchment paper also works really well. (Be warned though, do not use freezer paper or your shirt and design will be covered in a waxy film)
Now the temperature at which you press and the time for what you press is all going to depend on the type of iron on vinyl that you are using for your shirt. Always check the pressing and heat guidelines if you’re using a specialty vinyl.
A general guide for easy weed vinyl is the following:
I usually turn my press on to 315, I press for 15 seconds, I remove the carrier sheet, I press again for 15 seconds, and then I’m done.
Again this is what I find works really well but everyone’s press and heat source is a little bit different so just double check.
You can also do a tiny small sample on the inside bottom of your shirt to practice. That way you know how long and how hot to press before you’re doing the major front part of your shirt.
Did You Get A Good Press?
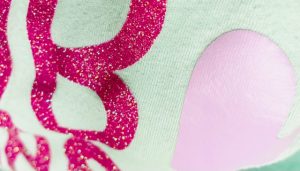
If you were using easy weed iron on also called heat transfer vinyl the best way to be able to tell if you got a good press on the vinyl if if you can see the fibers of the shirt through the vinyl. On some specialty vinyl though like glitter or twinkle or holographic you’re not going to be able to see the threads of the shirt no matter how hard you press.
When you’re first learning, using easy weed is a great guide to help you get the feel for how long and how hard you need to press your design. This image has both types of vinyl side by side and you can see what I mean. The light purple shows the fibers and the pink glitter does not. Both iron on vinyl materials are adhered properly and securely to the shirt.
Show it off
Don’t forget that you want want to wash your shirt inside out and line dry if possible. I’m not gonna lie though I generally throw mine in a low heat dryer with everything else because let’s face it with 4 kids and a mountain of never ending laundry… #reallife
We do also have free Printable care cards available for you to print out and utilize too. And worst comes to worst…. if for some reason you mess up you can always remove the vinyl by heating up the backside of the shirt and peeling it off.
I can’t wait to see what type of shirts you create using iron on vinyl! Make sure to connect with us over in our Facebook community. We want to see how you are able to bring this design and tutorial to life.
Once you get the hand of how to use iron-on vinyl the possibilities are endless. I can’t wait to see what you create!
If you loved this funny little svg you can find more of them in Club Chaos.
Inside of Club Chaos, we release brand new SVG files and project tutorials every single month. If you love the designs here on our blog I am confident you will adore the ones inside the Club!
Here is a glimpse inside the membership. In addition to monthly designs and tutorials, you also gain access to fonts, community, and a sisterhood of crafters. Learn more about Club Chaos here.
Don’t forget: As mentioned above if you are on a phone you will need an app to unzip the file folder and access the SVG.

Download your free funny SVG, “I’ll stop wearing black when they make a different color.”
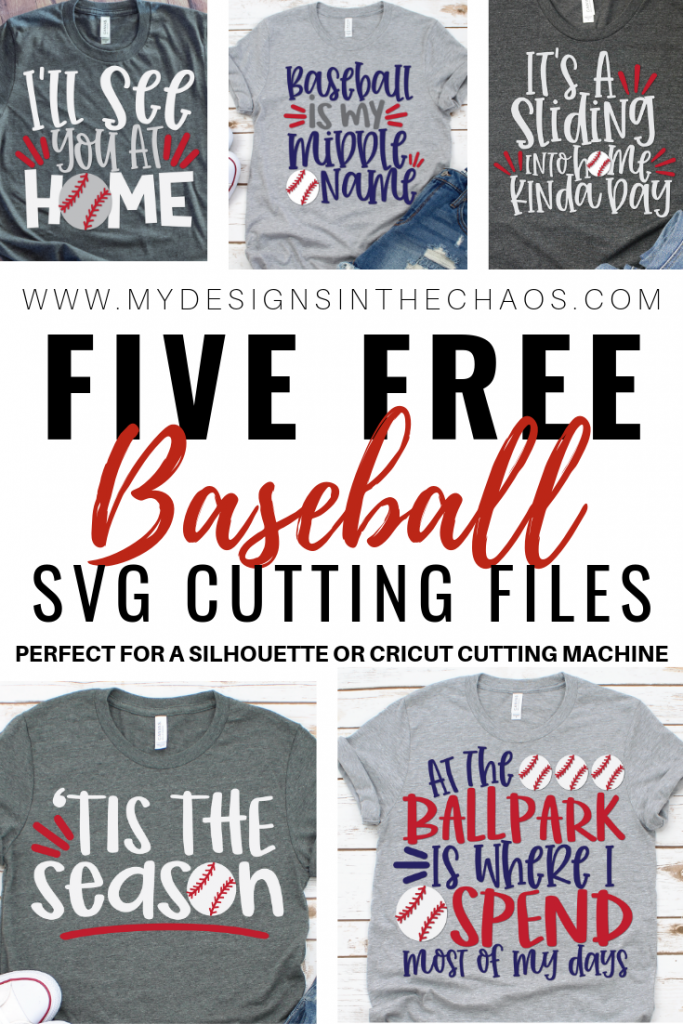
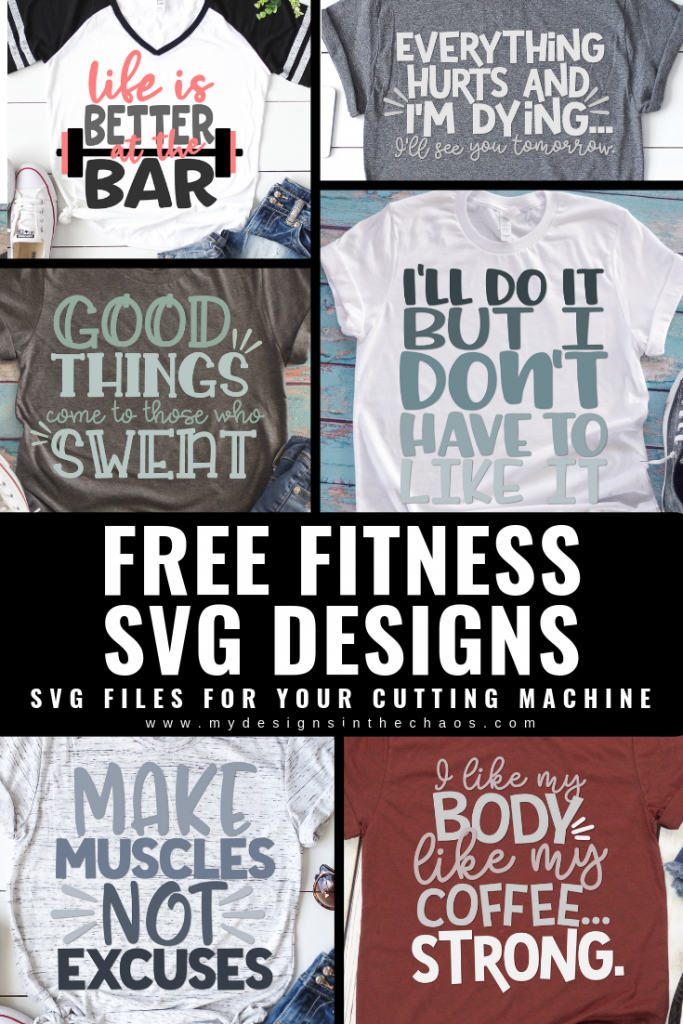
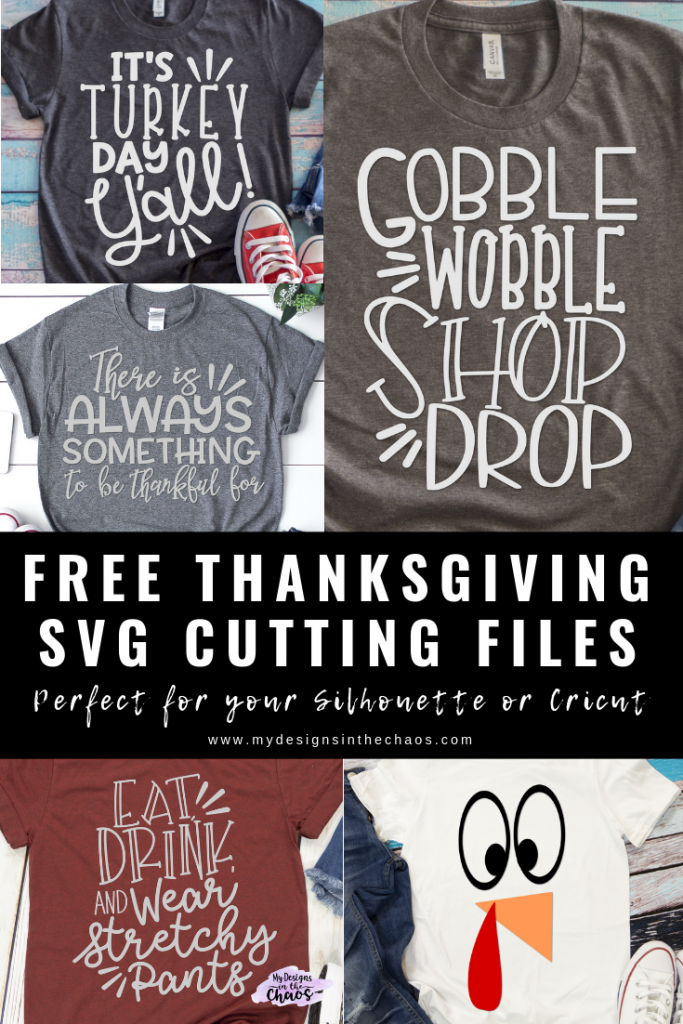
If you enjoyed this SVG freebie check out a few other popular ones here:
Thanks for stopping by for this iron-on vinyl tutorial and free SVG. ‘Til next time, happy crafting, cutting, and chaos!
Please take a moment and pin the image above before downloading the file below. Thanks so much!
2 Comments
Leave a Comment

Learn to develop, and grow your crafting skills!
My mission is to develop, encourage, and grow your crafting skills, and confidence through freebies, tutorials, our club, and our signature course.

Behind the Chaos...
My name is Michelle and I am the creative director behind the chaos. I'm so are glad you are here and hope you find inspiration and confidence to create something beautiful out of the chaos in your craft room and in life.
free ebook!
Bring your creativity to life quickly and easily.
This guidebook will give you a detailed look into the creative crafting cycle called the Craft Maker Process.


LOL! That is me to a T!
Thank you so much for sharing this, I wear a lot of black and will be making a shirt soon.