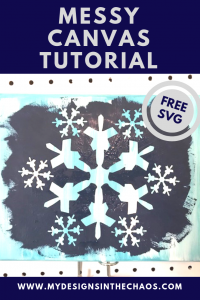
Messy Canvas Tutorial
share on social:
There are so many different ways to create beautiful artwork. Today I’m demonstrating exactly what the messy canvas is and how to create it in just a few simple steps. Me and my daughter did this project together for a fun crafting afternoon and I wanted to share.
If you are more of a fan of video then scroll down and watch the tutorial in action. This post contains affiliate links which means it costs no more for you to shop through our links but we do earn a small percentage of the sale.
SUPPLIES
Free SVG Snowflake File (download below)
Silhouette or Cricut Cutting Machine

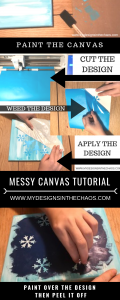
STEP ONE
Paint the canvas with whatever paint color and/or pattern you wish. Get creative here. What you paint first will be the colors and patterns that show through on your finished design. Let the canvas dry completely before moving onto the next step.
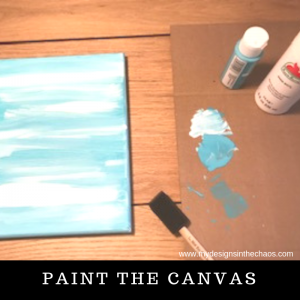
Please Note: Through experimentation we discovered that the messy canvas works the best with a lighter color on the bottom layer and then a darker color paint on the top.
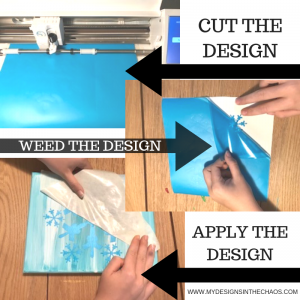
STEP TWO
Cut the design on your Silhouette or Cricut. (the snowflake SVG is available for FREE to download below) Weed out the surrounding parts of the design and then apply the design with transfer tape to the dried painted canvas.

STEP THREE
Paint over the canvas and design. You can either paint outwards to the entire edge or just enough to cover the design. Remember to let your creativity flow on how you want your finished canvas to look.

Just as a side note as we mentioned above…. we found that the results are better when you use a darker paint on top and a lighter paint on the bottom.
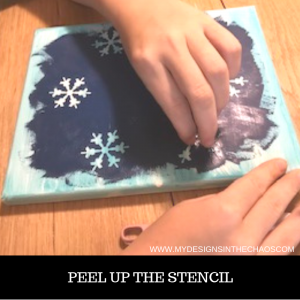
STEP FOUR
Peel up the stencil of your design and reveal the beautiful colors from your original canvas painting through the solid overlay color.
Check out the video tutorial of the entire process here:
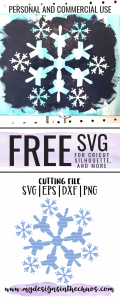
DOWNLOAD YOUR FREE SNOWFLAKE SVG FILE HERE
This style of artwork would be great to do as a project with a group of kids, at a birthday party, or even for a girl’s night. You could do monograms, phrases, or last names. All of those would look adorable.
A couple final Messy Canvas Tips:
- Let canvas dry 100% before applying the stencil.
- Use a darker color for the top layer and lighter colors for the underneath.
- You can use a layer of modpodge over the painted canvas before applying the stencil to help reduce bleed of the paint.
- Dab your brush for the top layer instead of brushing. This will reduce the bleed of the paint under the stencil.
Have you made a messy canvas? We want to hear your best tips below! Make sure to pin this post for future reference and please share with a friend. Happy chaos, cutting, and crafting.
See you next time!

Learn to develop, and grow your crafting skills!
My mission is to develop, encourage, and grow your crafting skills, and confidence through freebies, tutorials, our club, and our signature course.

Behind the Chaos...
My name is Michelle and I am the creative director behind the chaos. I'm so are glad you are here and hope you find inspiration and confidence to create something beautiful out of the chaos in your craft room and in life.
free ebook!
Bring your creativity to life quickly and easily.
This guidebook will give you a detailed look into the creative crafting cycle called the Craft Maker Process.