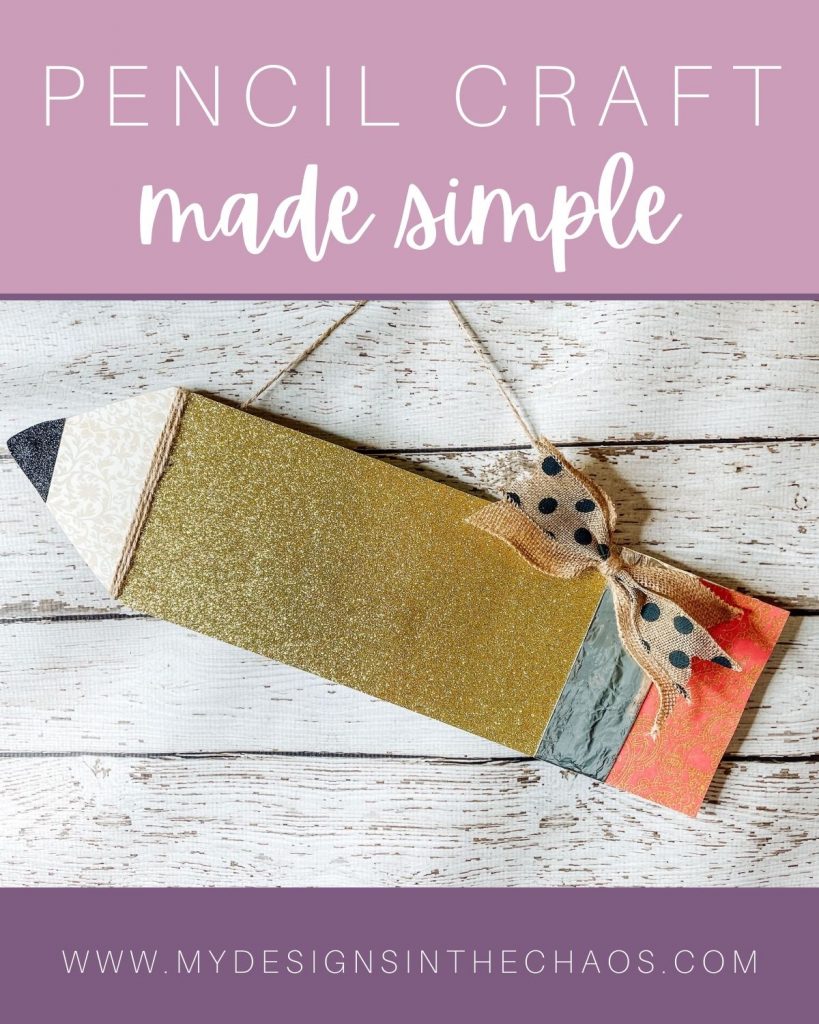
Pencil Craft Made Simple – Even Your Kids Can Do It!
share on social:
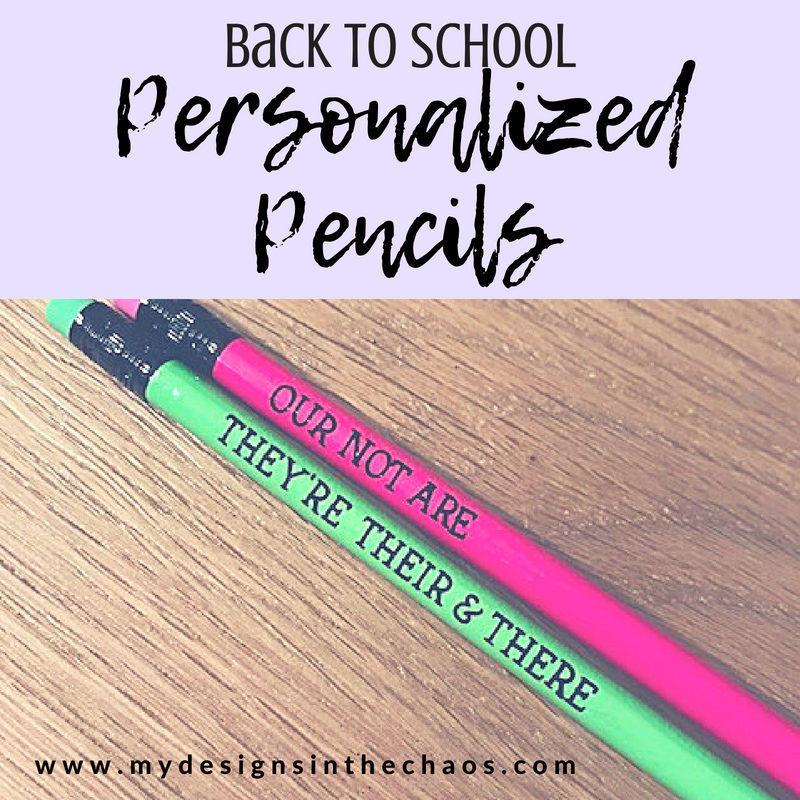
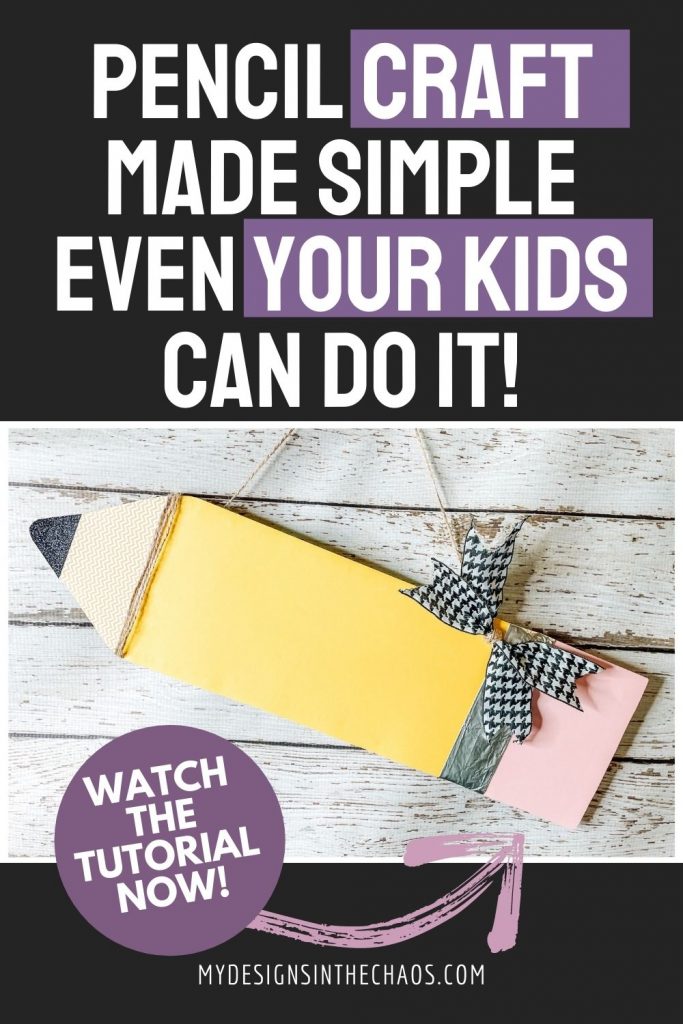
This simple, back-to-school pencil craft will help all your favorite teachers and students get the year started off right.
Our Make it With Michelle Monday videos are a way to inspire you, hopefully, to create something beautiful of your own.
The whole idea behind these projects is so that you can get an idea, be inspired, and then bring it to life in a way that suits you.
I love the idea that you can take this same project and make it funky or classic on your own.
One of the toughest parts of this pencil craft is choosing the card stock!
Will you choose between funky patterns to mix and match or a more classic color combo?
The Facebook live crowd that day picked the funky patterns for our pencil craft, so that’s what we used.
Watch the video to see how we made it and the other colors we considered. We used the traditional colors when we shared the project on Instagram.
It would also be really cute to do this pencil craft in school colors.
Supplies for this Pencil Craft
- Piece of cardboard from an old box
- Card stock in a variety of colors (for the pencil, eraser, bottom and tip)
- Craft bond (or hot glue, or mod podge if your paper is a little thinner and you don’t want to see any glue bubbles)
- Aluminum foil, silver paper or adhesive vinyl
- Twine
- Hot glue
- A couple of pieces of coordinating ribbon (I used burlap and a burlap/black dots ribbon)
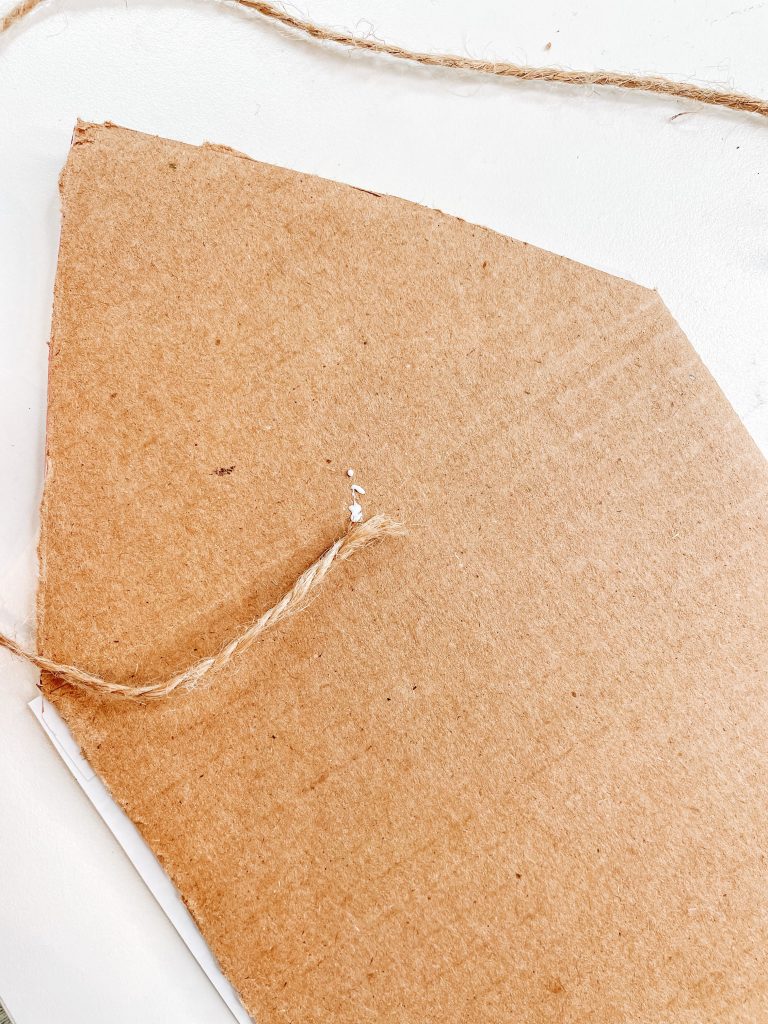
Step one
Cut a rectangle (about 15 inches long) out of the cardboard piece.
At one of the short ends, cut diagonal lines to make the tip of the pencil.
You could use your cutting machine to cut out the card stock pieces or you can just use scissors.
Step two
Flip the gold (or whatever pencil color you’re using) card stock over and line one of the long edges along the top.
Leave a little extra room between the edge of the cardboard and the edge of the card stock.
Use a pen to draw a line along the opposite long edge, marking a line for where to cut the paper.
Make the card stock a little bit larger than the cardboard pencil so that the card stock hangs over the edge a little.
You could use your cutting machine, or a ruler, or a paper cutter to cut the card stock, but I just did mine by hand.
It’s about you figuring out what you’re most comfortable with and the way you craft the best.
Step three
Take the pink or pinkish patterned paper and use the same process to cut a piece for the eraser.
Just use the cardboard as your template.
Make the eraser piece long enough so that the card stock pieces overlap just a little so there is no gap.
Then just do the same process for the triangle piece for the bottom of the pencil.
You could add a swirl or a swivel or some twine at the top. Just decide what the look is that you want.

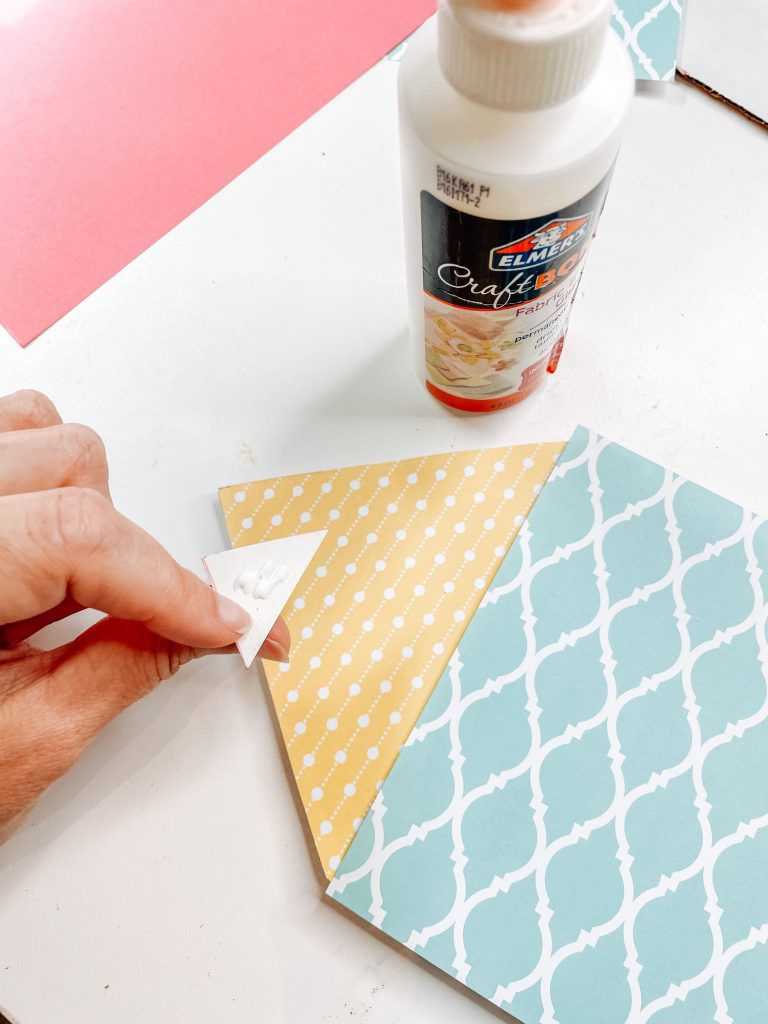
Step four
Start with the eraser piece to attach and don’t worry about the seams for now because we’ll fix those later.
Use craft bond to attach the card stock. Glue down the pencil piece next.
You could totally personalize your pencil craft by using vinyl or a cute saying to add a name.
Or add a classroom number. Then glue the triangle piece down.
Once everything is glued down, trim off any stray pieces of cardboard and trim the edges of all the card stock pieces of needed to make everything even.
Dab in more glue if there are any areas that need it.
Step five
Use the black card stock to make the tip, however big you want the tip to be. Just cut a triangle, again using the pencil as a template.
Round out the tip a little and glue it down.
Fold a piece of aluminum into thirds to make it thicker and glue it down.
Fold the overhang edges around the back and glue them to the back.
Remember that craft bond takes a little while to dry.

Step six
Twine will help cover up the seam between the body of the pencil and the bottom.
Dab a bit of hot glue on the back of the pencil and attach one edge of the twine.
Wrap it around the pencil a few times.
Use some craft bond (so it dries clear) on the front to help secure it there too.
Put some more hot glue on the backside to attach the other end of the twine and trim it off.
This adds another texture to the pencil as well and it helps break up the patterns if you’re using them.
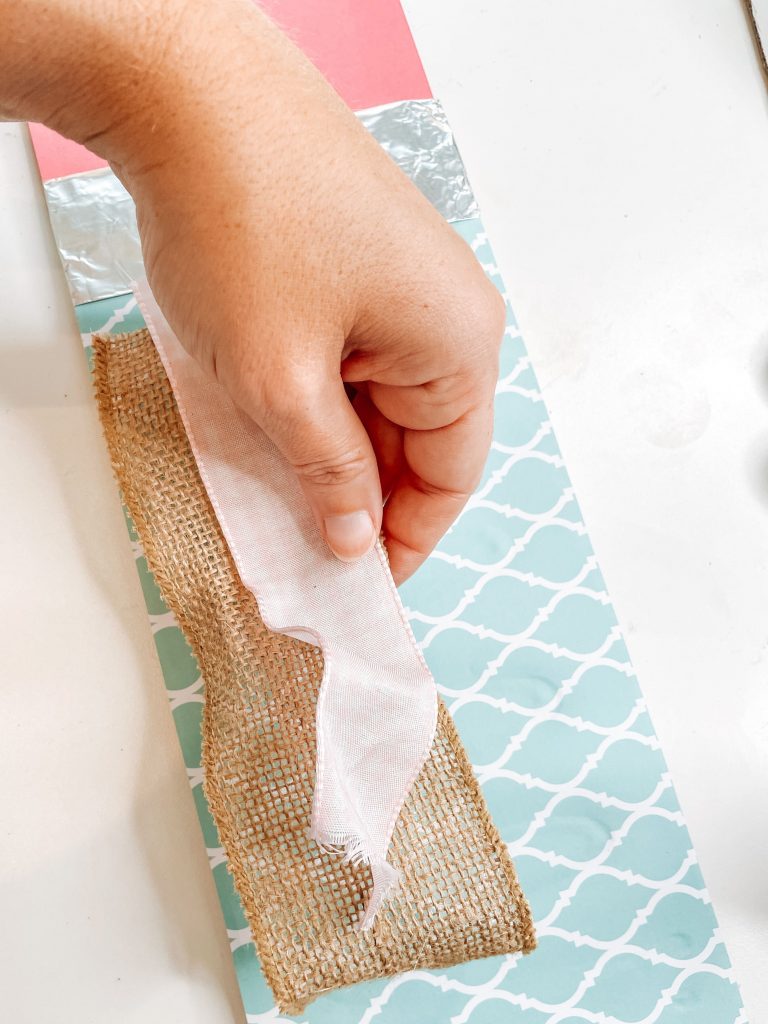
Let’s add a Bow!
Cut a couple of pieces of ribbon to make a bow.
One ribbon should be wider than the other so you see both of them, one behind the other, when finished.
Holding them together with the skinnier piece on top of the wider piece, cinch them together at the top long side, and at the bottom.
Put a little bit of hot glue on the back of the bow in the middle, and tie a piece of twine around to hold the bow together.
Decide where you want to place the bow and dab a piece of hot glue. Hold it in place so the bow and the twine stick to the pencil.
Dovetail the ribbon.
Fold the end of the ribbon pieces in half longways and trim off a triangle piece.
Finally, use some twine to make a hanger.
Hot glue one end of the twine on the back at one side of the pencil, and then the other.
This cute pencil craft came together in just a few easy steps.
Cutting out cardboard and card stock shapes in traditional pencil colors makes a great base.
Adding little touches with twine and foil, and a cute bow completes this super easy project.
Ideas for using your pencil craft
- Decorate a bulletin board
- Use it as a door hanger
- Gift for a teacher
- Make a much smaller version for an oversized book mark. Just use card stock for the base instead of cardboard and laminate it. Check out our tutorial on DIY bookmarks for more inspiration.
For even more teacher ideas, we have lots of teacher-themed freebie svg designs that you can use on shirts, bags, mugs, decorative signs, etc.
Keep an eye out for our Make It with Michelle Mondays for more project inspiration. We’d love to craft with you and make sure to come connect with us in our FB community to show off what you are working on!
More Tutorials You May Love
If you love this pencil craft, pin it for later!

Learn to develop, and grow your crafting skills!
My mission is to develop, encourage, and grow your crafting skills, and confidence through freebies, tutorials, our club, and our signature course.

Behind the Chaos...
My name is Michelle and I am the creative director behind the chaos. I'm so are glad you are here and hope you find inspiration and confidence to create something beautiful out of the chaos in your craft room and in life.
free ebook!
Bring your creativity to life quickly and easily.
This guidebook will give you a detailed look into the creative crafting cycle called the Craft Maker Process.