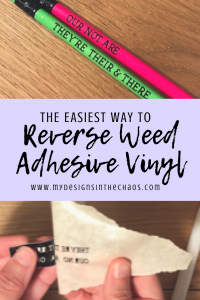
Reverse Weeding Adhesive Vinyl
share on social:
School is right around the corner and one of the best parts of beginning a new year is labeling all the fun supplies with my cutting machine. For super small areas, like pens or pencils, I have found that the easiest way to work with the tiny cuts of adhesive vinyl is a technique called reverse weeding. Today I’m going to walk you through the simple process of how to reverse weed adhesive vinyl. I’ve even made a short video for y’all because I think it is a lot easier to see in action than explain. So, thanks to the reverse weeding technique, no school supplies will be left behind!

Let’s Get Started
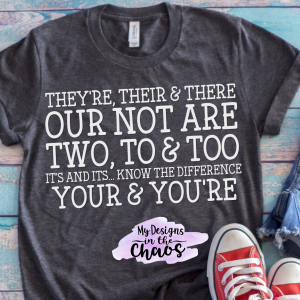
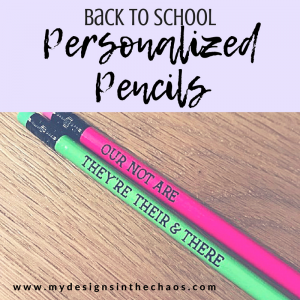
First up gather some pens and pencils to label. For today’s project I used some bright neon pencils and this free SVG of fun grammar phrases pictured below. I just split up the phrases and shrunk them down to the size I needed in my program.

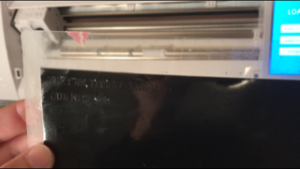
Next up I cut the design for the pencils on Black Adhesive Vinyl using my Silhouette. The settings that my machine cut the best with that small of a cut were Blade 3, Speed 5, Force 5.
This is where things get fun. Flip flop the normal steps of weeding an adhesive vinyl design. Instead of pulling off the vinyl you don’t want first, apply the transfer tape DIRECTLY to the unweeded (is that a word?) vinyl. Then, as you peel up the transfer tape the tiny letters will stick and will be weeded for you.
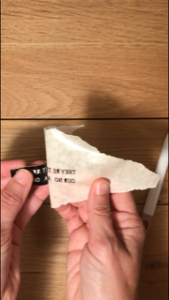
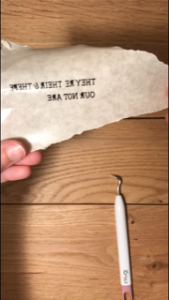
Using a weeding tool, pull out the tiny insides of any of the letters that came with it onto the transfer tape.
And I have recently updated my Amazon shop with all the best supplies and tools to use with your machines. Check out all my favorites here.
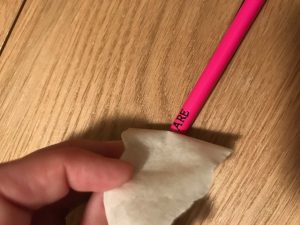
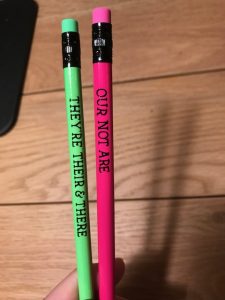
Next, line it up on your pen or pencil, smooth down, and then remove the transfer tape. The design will be left on the pencil.
Want to see this process in action? Check out the video below:
Worried about the vinyl peeling off? Add a layer of clear nail polish over the top to seal it.
Now, using the reverse weeding method, your can label all the things… no matter how small the cut is! Learn something new or have you tried this method? Tell us about it below or head over to our FB community and show it off! We can’t wait to connect.
Also, make sure to share with a friend, because nothing makes a good friend even closer than sharing your awesome crafting tips!

Disclosure: This post may contain affiliate links.
9 Comments
Leave a Comment

Learn to develop, and grow your crafting skills!
My mission is to develop, encourage, and grow your crafting skills, and confidence through freebies, tutorials, our club, and our signature course.

Behind the Chaos...
My name is Michelle and I am the creative director behind the chaos. I'm so are glad you are here and hope you find inspiration and confidence to create something beautiful out of the chaos in your craft room and in life.
free ebook!
Bring your creativity to life quickly and easily.
This guidebook will give you a detailed look into the creative crafting cycle called the Craft Maker Process.


Omg how’d I not think of this. Wasted some vinyl the “normal” way. Thank you!
So glad you found it helpful! 🙂
What font did you use?
It is called tippy tappy type you can find it here at my affiliate link 🙂 : https://fontbundles.net/geekmissy/123350-tippy-tappy-type-a-hand-made-typewriter-ish-font/rel=LlkUnv
When I try to cut tiny letters with my silhouette the machine pulls them apart or messes them up some way. My blade is new and I am using Oricle vinyl. What am I doing wrong
There are a couple different things I would suggest. The two big ones are to try and slow down the speed of the blade, and decrease the pressure some. Every machine is a little different and you have to find the sweet spot of where your machine will smoothly cut. It is a TON of trial and error but once you figure out the setting that works for you… you will be good to go forever! 🙂
Thank you so much for sharing this genius hack! It made such a difference!
What kind of transfer tape did you use? Thank you.
Looks like this one she uses: https://amzn.to/2WzxJlG (afil link)